This guide takes an empty organisation to an open application window. It is for the organisation owner, because only owners can create programmes. With your questions, rubric and dates already written down, the clicks take about ten minutes.
Related: Applications, Platform and plans.
Before You Start
- The call document: eligibility, dates, what is on offer and how decisions are made.
- Your logo and your primary colour as a hex value.
- The application questions, roughly grouped into stages.
- The rubric: criteria, weights and what a low and a high score mean for each.
- The evaluator list: names, email addresses and the sectors each one knows.
- Your dates: window opens, window closes, scoring deadline, decisions out.
Step 1: Set the Branding
Branding belongs to the organisation and shows on everything applicants and audiences see.
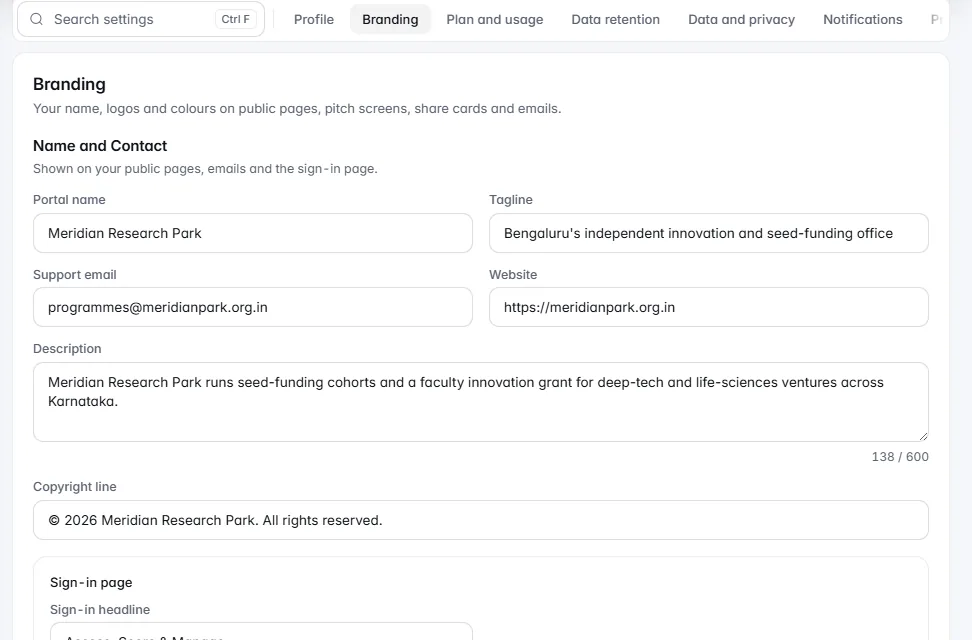
- Open Settings › Branding.
- Fill in Name and Contact: portal name, tagline, support email and website.
- Upload your logos and set your colours. Check the logo on light and dark backgrounds.
From Professional up, public pages carry only your branding, with no "Powered by" line. Your own web address, email from your own domain and your own sign-in wording come with White-label: an add-on on Professional, included in Enterprise and the Campus licence.
Step 2: Create the Programme
- On Programmes, choose New programme.
- Pick how to start: Set up with IdeaScore AI drafts the form, rubric, rounds and letters from a few questions; From a template gives a ready set to preview first; Blank programme starts empty.
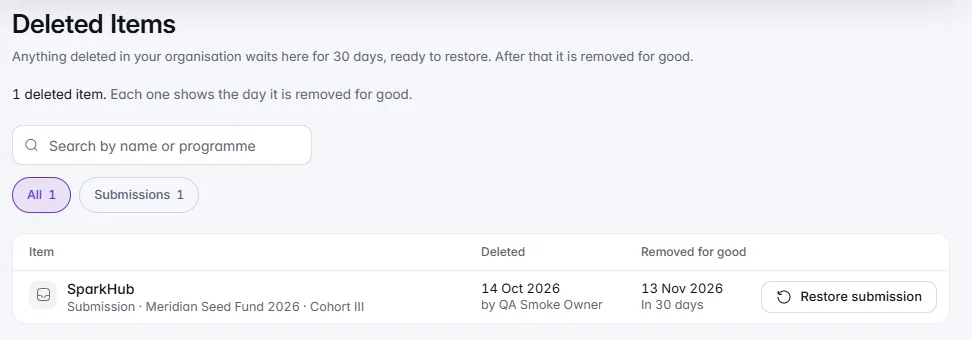
- Type the name, including the year: "Seed Fund 2026, Cohort III" ages better than "Seed Fund".
- Choose the event type. It sets the words the programme uses and the features it switches on.
- Choose Create programme.
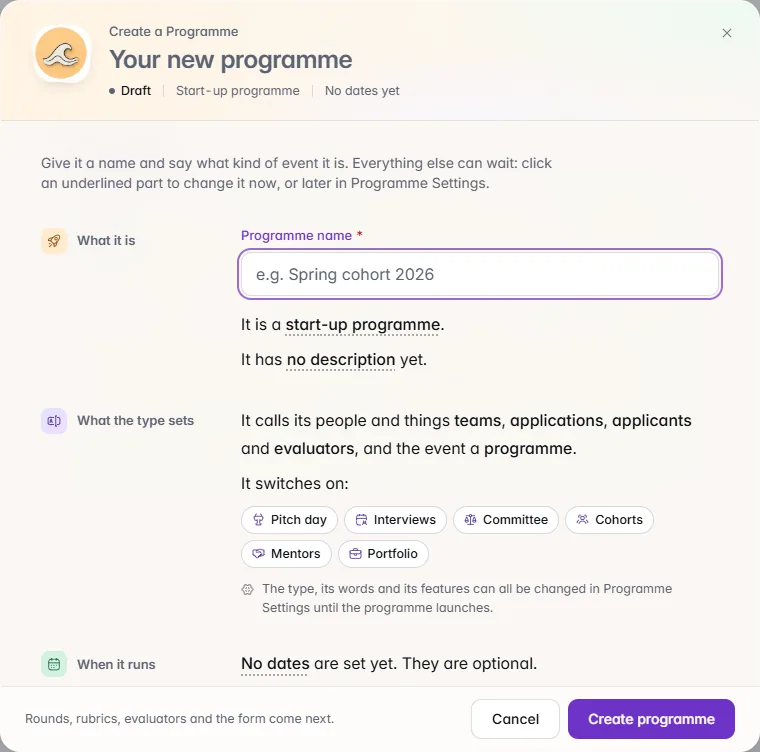
Then open Programme Settings from the programme's menu and check the Time zone. Every date in the programme, from the closing time to the emails, is shown in it.
Step 3: Build the Form
Open Registration form. Group questions into stages an applicant can finish in one sitting, and mark required only what you will enforce. The form guide covers the detail.
Step 4: Choose How Entries Are Scored
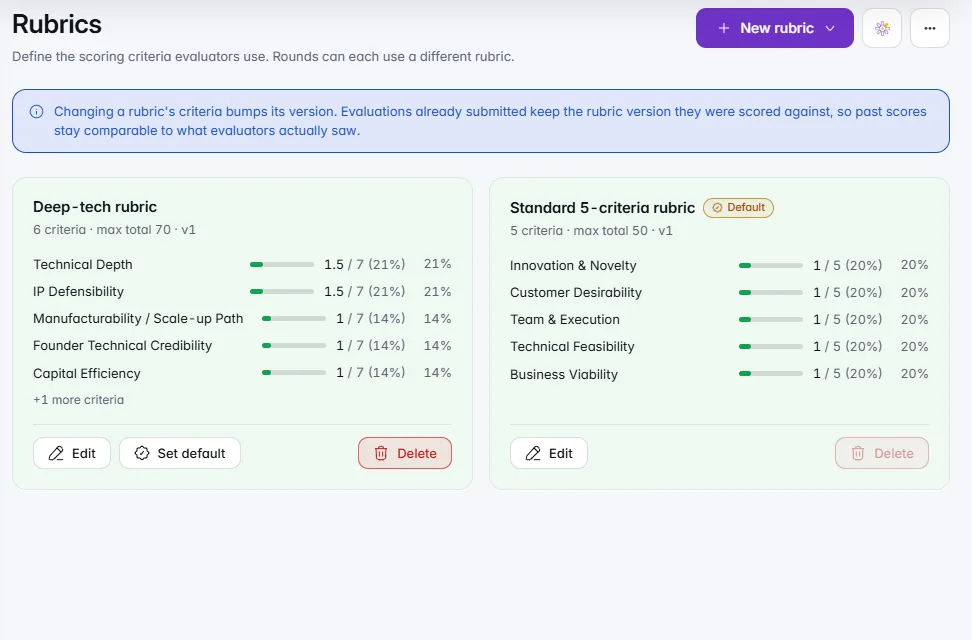
On Rubrics, start from a preset for your event type, a template or a short IdeaScore AI draft. Write what the lowest and highest scores mean for every criterion, then score one real application yourself. The rubric guide walks through it.
Step 5: Invite Evaluators
On Evaluators, choose Add evaluator for each person: name, email, the sectors they know and their weightage. Invite them before the window closes, so they have time to sign in. The evaluator guide covers conflicts and assignment.
Step 6: Open the Window
- On Registration form, open Window and settings from the menu. Set Opens and Closes, and a capacity if the call has one.
- Choose Preview as applicant and walk the form on a laptop and on a phone.
- Switch on Accepting registrations.
- Use Copy the form link, or the programme dashboard's Public Pages card for a QR code for posters.
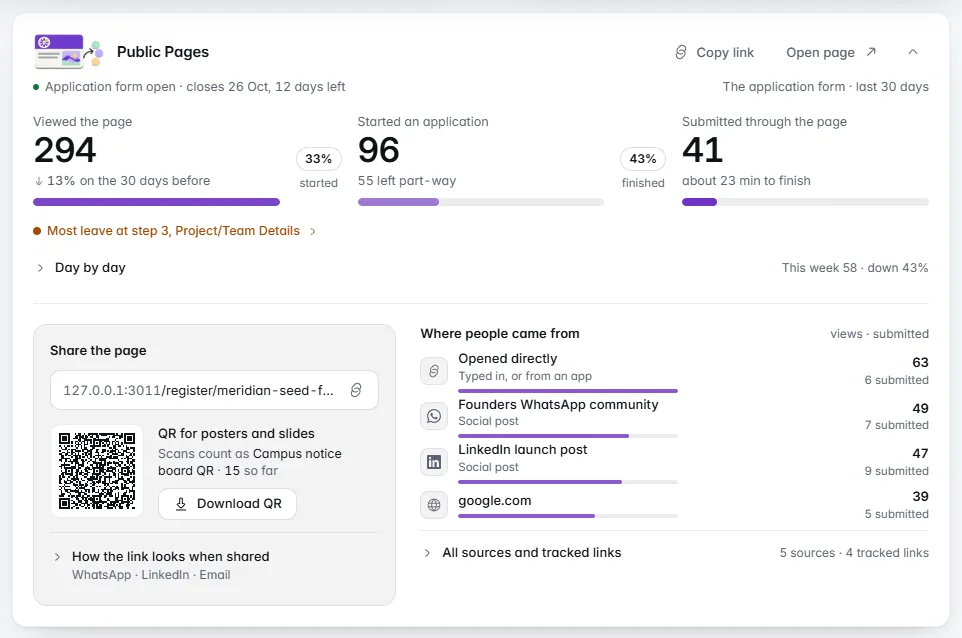
The programme dashboard also carries a five-step set-up guide (form, scoring, evaluators, rounds, letters) that ticks itself off as you go.
Checklist Before You Announce
- Name, logo and colours set, logo checked on light and dark
- Programme named with the year, event type chosen, time zone checked
- Form previewed on a phone, required questions kept to what you enforce
- Rubric written with low and high descriptors, tested on one application
- Evaluators added and invited
- Window dates set, capacity decided, registrations switched on
- Public link opened while signed out